components
Tailwind CSS Theme Controller
If a checkbox or radio input with the theme-controller class is present on the page, the page's theme will be set to the value of that input.
The Theme Controller changes the theme using only CSS. You can use JavaScript to save the input state to the server or localStorage if you want it to persist across page refreshes.
Use the theme-controller component class with a checkbox input to create a theme switcher that toggles between the default theme and the theme specified in the value.
<input type="checkbox" value="dark" class="checkbox theme-controller" />Create a theme controller using a switch based on the example provided below.
<input type="checkbox" value="dark" class="switch theme-controller" />The example below shows how to implement a theme controller using a switch component.
<label class="swap swap-rotate">
  <input type="checkbox" value="dark" class="theme-controller" />
  <span class="swap-off icon-[tabler--sun] size-7"></span>
  <span class="swap-on icon-[tabler--moon] size-7"></span>
</label>The example below illustrates how to create a theme controller using a switch combined with text.
<label class="flex cursor-pointer gap-2">
  <span class="label-text">Light</span>
  <input type="checkbox" value="dark" class="switch theme-controller" />
  <span class="label-text">Dark</span>
</label>The example provided shows how to build a theme controller using a switch that features icons.
 <label class="relative inline-block">
    <input type="checkbox" class="switch switch-primary theme-controller peer" aria-label="default switch with icon" checked />
    <span class="icon-[tabler--sun] text-primary-content absolute start-1 top-1.5 hidden size-4 peer-checked:block" ></span>
    <span class="icon-[tabler--moon] text-neutral-content absolute end-1 top-1.5  block size-4 peer-checked:hidden" ></span>
</label>The example below shows how to build a theme controller using a switch with personalized colors.
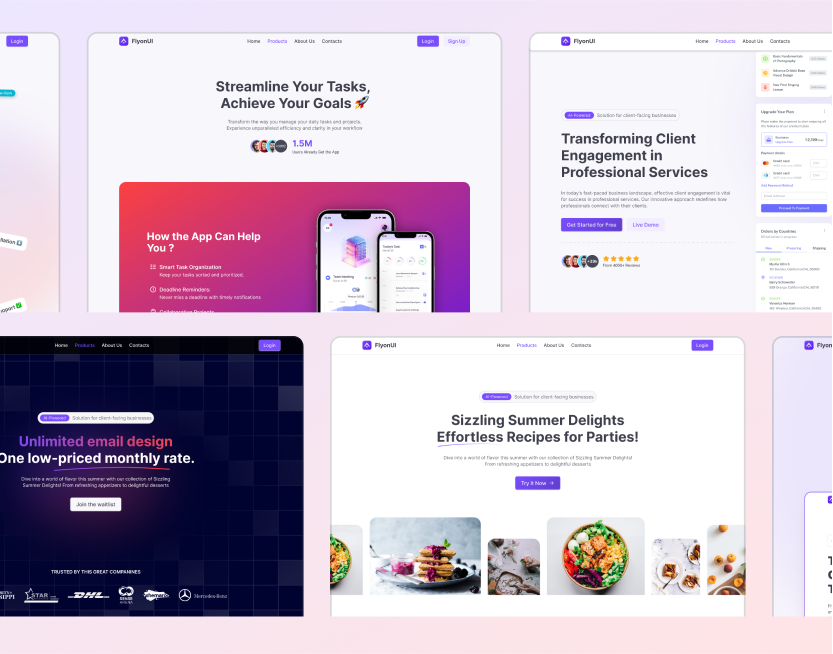
<input type="checkbox" value="dark" class="switch theme-controller checked:text-[#e4b0f8] checked:border-[#9b59b6] checked:bg-[#9b59b6]" />Create a theme controller using a radio input based on the example below.
<div class="flex flex-col gap-1">
  <div>
    <div class="flex items-center justify-between gap-4">
      <label class="label-text" for="defaultTheme">Default</label>
      <input type="radio" name="theme-radios" class="radio theme-controller" id="defaultTheme" value="default" checked />
    </div>
  </div>
  <div>
    <div class="flex items-center justify-between gap-4">
      <label class="label-text" for="corporateTheme">Corporate</label>
      <input type="radio" name="theme-radios" class="radio theme-controller" id="corporateTheme" value="corporate" />
    </div>
  </div>
  <div>
    <div class="flex items-center justify-between gap-4">
      <label class="label-text" for="gourmentTheme">Gourmet</label>
      <input type="radio" name="theme-radios" class="radio theme-controller" id="gourmentTheme" value="gourmet" />
    </div>
  </div>
</div>The example below shows how to create a theme controller using a radio button.
<div class="join drop-shadow join-vertical">
  <input type="radio" name="theme-buttons" class="btn btn-secondary theme-controller join-item" aria-label="Default" value="default" checked />
  <input type="radio" name="theme-buttons" class="btn btn-secondary theme-controller join-item" aria-label="Corporate" value="corporate" />
  <input type="radio" name="theme-buttons" class="btn btn-secondary theme-controller join-item" aria-label="Gourmet" value="gourmet" />
</div>Here’s a ready-to-use example of a theme controller utilizing a dropdown menu.
<div class="dropdown relative inline-flex [--auto-close:inside]">
  <button id="dropdown-default" type="button" class="dropdown-toggle btn btn-primary" aria-haspopup="menu" aria-expanded="false" aria-label="Dropdown" >
    Dropdown
    <span class="icon-[tabler--chevron-down] dropdown-open:rotate-180 size-4"></span>
  </button>
  <ul class="dropdown-menu dropdown-open:opacity-100 hidden min-w-60" role="menu" aria-orientation="vertical" aria-labelledby="dropdown-default" >
    <li>
      <input type="radio" name="theme-dropdown" class="theme-controller btn btn-text w-full justify-start" aria-label="Default" value="default" checked />
    </li>
    <li>
      <input type="radio" name="theme-dropdown" class="theme-controller btn btn-text w-full justify-start" aria-label="Corporate" value="corporate" />
    </li>
    <li>
      <input type="radio" name="theme-dropdown" class="theme-controller btn btn-text w-full justify-start" aria-label="Gourmet" value="gourmet" />
    </li>
  </ul>
</div>Below are the comprehensively outlined steps you can follow to seamlessly integrate theme-change into your project for efficient theme switching functionality with storing in local storage.
The theme-change plugin offers three primary attributes to manage themes dynamically:
data-set-theme="luxury"
Use this attribute to set the theme directly for components such as buttons, radio buttons, and dropdowns. The theme is applied upon user interaction (e.g., clicking a button).data-choose-theme
This attribute is designed forselectcomponents. It dynamically applies the theme based on the selected option from a dropdown menu.data-toggle-theme="soft"
Ideal for toggle components like checkboxes and switches. This attribute allows users to switch between themes interactively by toggling the element.
It also provides the data-act-class="ACTIVECLASS" attribute, which applies the specified ACTIVECLASS to the element when it is clicked or toggled.
For a live demonstration and detailed example of using FlyonUI with the theme-change plugin, check out this StackBlitz example.
