Templates (HTML)
A ready-made layout for a document that you can fill in with your own content without needing to worry about formatting.
A Template is a pre-designed structure or framework used to create consistent content within a project. It provides a standardized format with placeholders, allowing users to quickly generate new documents or components. Templates save time, ensure uniformity, and make the creation process more efficient.
Step 1: Log In to Your Account
- Go to flyonui.com and log in using your credentials.
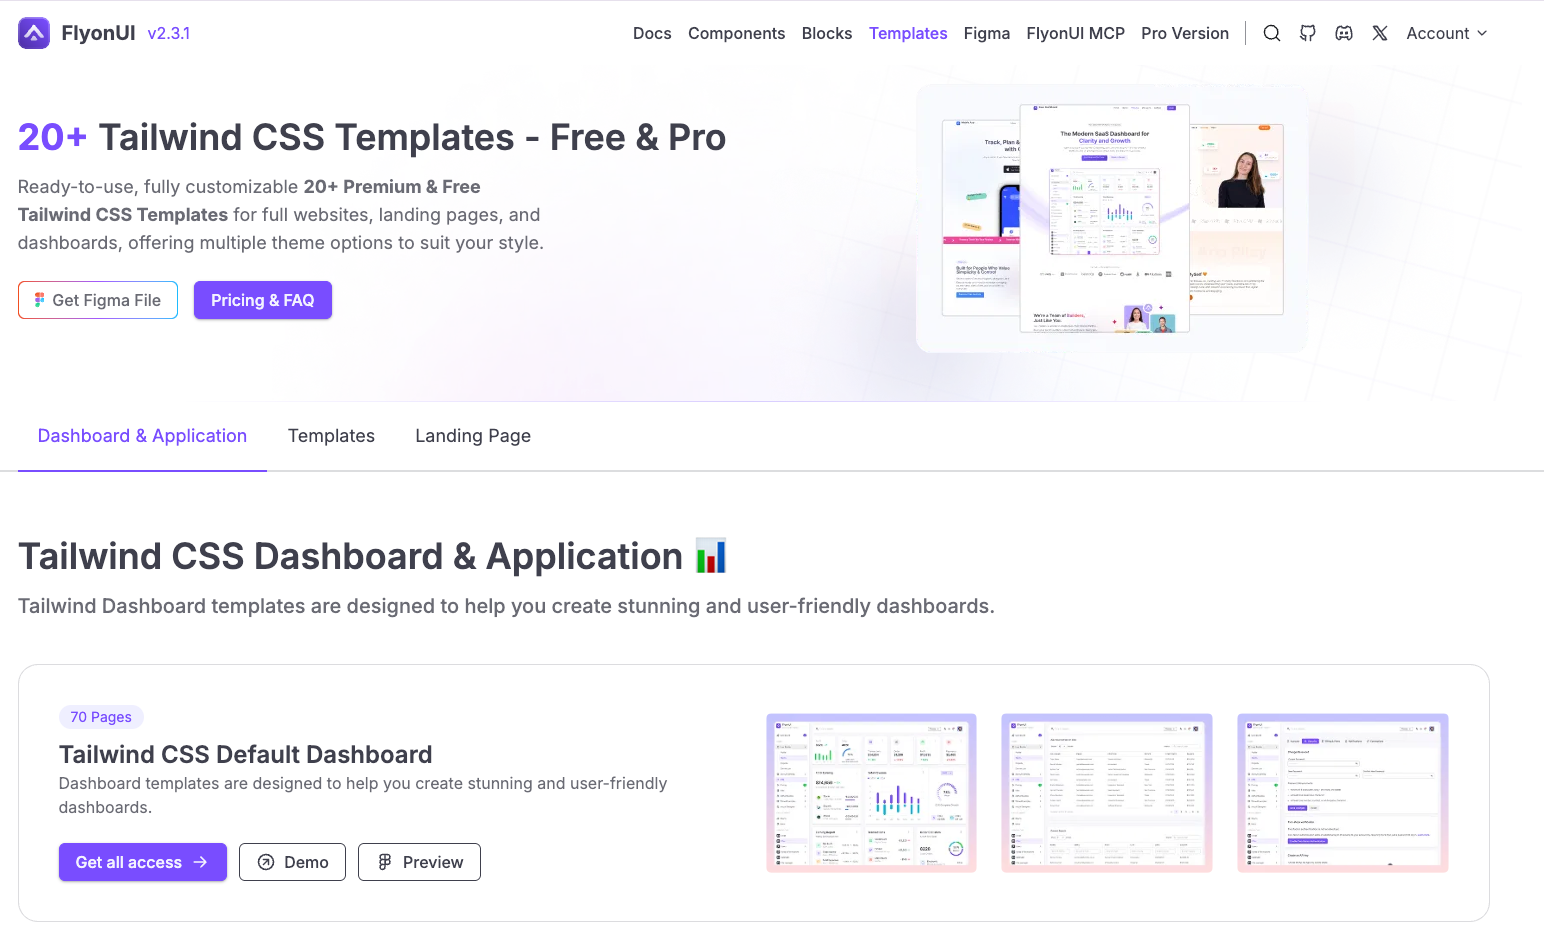
Step 2: Navigate to the Templates Page
- Visit the Templates page to explore different types of templates.
Step 3: Download the Templates(.zip)
- Click the “Download” button to get the .zip file and extract the file.
**Template Name**/
├── html/
│   ├── ...../                  # Folder
├── assets/                     # Build assets and outputs
│   ├── css/                    # Source CSS files
│   │   └── main.css            # Main TailwindCSS source
│   ├── js/                     # JavaScript files
│   ├── img/                    # Images and graphics
│   ├── json/                   # JSON data files
│   ├── dist/                   # Built assets (previously vendor)
│   │   ├── css/                # Compiled CSS
│   │   │   └── output.css      # Generated TailwindCSS output
│   │   ├── js/                 # Built JavaScript
│   │   └── libs/               # External libraries
- Node.js 18.0.0 or higher
- npm or yarn package manager
If you do not have pnpm installed, follow the steps below to get started:
Install Node.js(if not already installed): Visit Node.js website and download the latest LTS version.
Install pnpm: Run the following command in your terminal:
npm install -g pnpm
- Install dependencies: This will install
node_modulesin your file automatically.
pnpm install- Start development: This will start TailwindCSS in watch mode and compile changes automatically.
pnpm run build- Preview your site: This will start a local server at
http://localhost:8080
pnpm run serveOR
- Start Development: This will start TailwindCSS in watch mode and compile changes automatically.
pnpm run devpnpm run dev- Start TailwindCSS development mode with file watching and local server.pnpm run watch- Start TailwindCSS in watch mode (CSS compilation only)pnpm run serve- Start a local HTTP server for preview
pnpm run build- Build all assets for developmentpnpm run build:css- Compile TailwindCSS without minificationpnpm run build:js- Copy JavaScript files to dist directorypnpm run build:libs- Build external libraries from node_modulespnpm run build:assets- Build all assets for developmentpnpm run build:prod- Build all assets for production with minification
The main TailwindCSS configuration is defined in the source CSS file at css/main.css. This file uses TailwindCSS 4.x syntax with @import directives and can include custom CSS.
Build settings are managed through a configuration system that controls compilation options, dependencies, environment variables, and build targets for consistency and optimization.
package.jsongulpfile.jsbuild-config.jslibs-build.js
- Start by installing the desired library via your terminal or command line interface. You can do this using
npmoryarnas follows:
pnpm install nouislider
This will add the library to your `node_modules directory and include it in your package.json dependencies.
- After installation, verify that the library is present in your
package.jsonunder the dependencies section, and check that it has been successfully added to thenode_modulesdirectory.
You can check package.json for a corresponding entry:
"dependencies": {
  "nouislider": "~15.8.1"
}
- Next, you’ll need to include the library in the
libs-build.jsconfiguration file. Open this file and add the library to the list of assets in alphabetical order, ensuring that the build process knows to include it in the final output.
For example:
nouislider: {
  src: ['nouislider/dist/nouislider.min.js']
}
- Run the build process to bundle the libraries. Use the following command to trigger the build process:
pnpm run build
This will generate the necessary files and output them into the assets/dist/libs/ directory. Verify that the nouislider.min.js file (or your specific library) is placed correctly within the assets/dist/libs/ folder.
- Finally, reference the installed library in your HTML or JavaScript files. Add the corresponding
<script>tag to your HTML file to include the library from theassets/dist/libs/directory.
For example:
<script src="../assets/dist/libs/nouislider/dist/nouislider.min.js"></script>
All Set 🚀
You’re now ready to use the library in your project!