Templates (Astro)
A ready-made layout for a document that you can fill in with your own content without needing to worry about formatting.
A Template is a pre-designed structure or framework used to create consistent content within a project. It provides a standardized format with placeholders, allowing users to quickly generate new documents or components. Templates save time, ensure uniformity, and make the creation process more efficient.
Step 1: Log In to Your Account
- Go to flyonui.com and log in using your credentials.
Step 2: Navigate to the Templates Page
- Visit the Templates page to explore different types of templates.
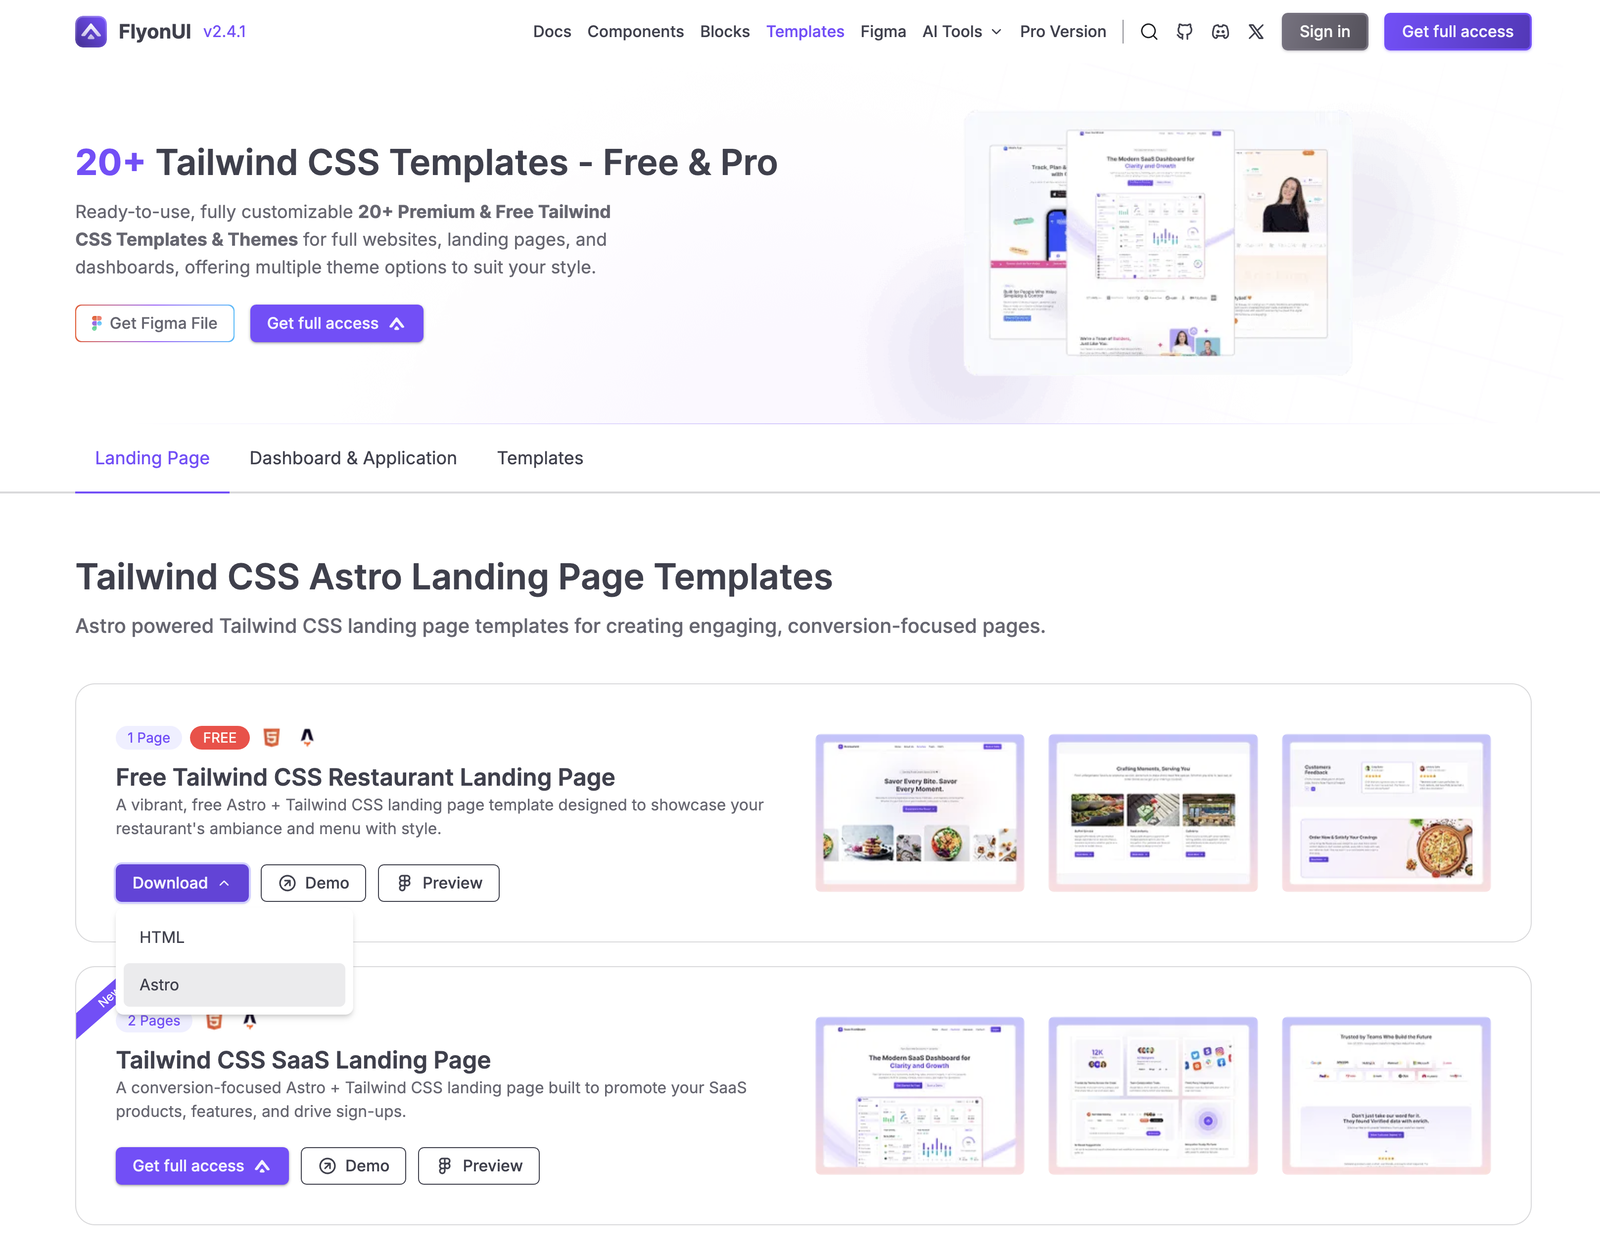
Step 3: Download the Templates(.zip)
- Click the “Download –> Asrto” button to get the .zip file and extract the file.
**Template Name**/
├── public/
│   └── assets/
│       └── img/              # Images and favicon
├── src/
│   ├── components/           # Astro components
│   │   ├── shared/           # Reusable components
│   │   ├── navbar.astro
│   │   ├── footer.astro
│   │   ├── ...
│   ├── layouts/
│   │   └── layout.astro      # Layout
│   ├── pages/
│   │   └── index.astro       # Landing page
│   ├── styles/               # Global styles
│   ├── types/                # TypeScript types
│   ├── utils/                # Utility functions
│   └── config.ts             # Site configuration
├── astro.config.mjs          # Astro configuration
├── package.json
└── tsconfig.json
- Node.js 18.0.0 or higher
- npm or yarn package manager
If you do not have pnpm installed, follow the steps below to get started:
Install Node.js(if not already installed): Visit Node.js website and download the latest LTS version.
Install pnpm: Run the following command in your terminal:
npm install -g pnpm
- Install dependencies: This will install
node_modulesin your file automatically.
pnpm install- Start development: The site will be available at
http://localhost:4321
pnpm run dev- Build for production: The built site will be in the
dist/folder with relative asset paths for easy deployment.
pnpm run build- Preview the production build: This will preview the built site locally.
pnpm run previewpnpm install: Installs dependenciespnpm run dev: Starts local dev server at localhost:4321pnpm run build: Build production site with type-checking and relative pathspnpm run preview: Build and preview production site locallypnpm run format: Format all files with Prettierpnpm run format:check: Check if files are formatted correctlypnpm run astro ...: Run Astro CLI commands
Edit src/config.ts to customize your site:
export const siteConfig = {
  creatorName: 'FlyonUI',
  demoName: 'Restaurant',
  templateName: 'Restaurant Landing Page',
  // ... more settings
};
To declare your file path Aliases, go to tsconfig.json file and declare your new alias.
For example:
Let’s say you want a new alias called @hooks/* that maps to src/hooks/*. simply edit compilerOptions.paths
{
  "compilerOptions": {
    "paths": {
      "@/*": ["./src/*"],
      "@components/*": ["./src/components/*"],
      "@layouts/*": ["./src/layouts/*"],
      "@styles/*": ["./src/styles/*"],
      "@utils/*": ["./src/utils/*"],
      "@types/*": ["./src/types/*"],
      "@hooks/*": ["./src/hooks/*"]   // <-- Add this line
    }
  }
}
- Start by installing the desired library via your terminal or command line interface. You can do this using
npmoryarnas follows:
pnpm install flatpickr
This will add the library to your node_modules directory and include it in your package.json dependencies.
- After installation, verify that the library is present in your
package.jsonunder the dependencies section, and check that it has been successfully added to thenode_modulesdirectory.
You can check package.json for a corresponding entry:
"dependencies": {
  "flatpickr": "~4.6.13"
}
- Next, you’ll need to include the library in the
astro.config.mjsconfiguration file. Open this file and add the library to the list of assets in alphabetical order, ensuring that the build process knows to include it in the final output.
For example:
.....
plugins: [tailwindcss()],
    optimizeDeps: {
      include: ['flyonui', 'flatpickr']
    },
.....
global.css file.For example:
.....
/* tailwind intersect */
@import 'tailwindcss-intersect';

/* tailwind motion */
@plugin 'tailwindcss-motion';

/* Flatpickr */
@import 'flyonui/src/vendor/flatpickr.css';
.....
- Finally, reference the installed library in your HTML or JavaScript files. Add the corresponding
<script>into yourclient-script.astrofile iside the<script>..</script>tag to include the library from thenode_modules/directory.
For example:
<script>
import 'flyonui/flyonui.js';
import 'tailwindcss-intersect/dist/observer.min.js';
// Add your libs like this
import 'flatpickr/dist/flatpickr.js'
</script>`
All Set 🚀
You’re now ready to use the library in your project!
- Open the
src/config.tsfile in your project. - Locate the theme configuration options:
defaultLightThemefor the light mode themedefaultDarkThemefor the dark mode theme
- Update the value to the theme you want to use. For example, to set the light theme to Ghibli, update the configuration as follows:
defaultLightTheme: 'ghibli',
You’re now ready to use your desired theme in your project. Like this you can change the dark theme as well.
Astro makes deployment pretty straightforward. You have two common options:
Static (pre-rendered) deployment – host on any static host (Netlify, GitHub Pages, Cloudflare Pages, S3, etc.)
Vercel deployment – first-class support with automatic builds
- Node.js 18.0.0 or higher
- npm or yarn package manager
pnpm install
Make sure your astro.config.mjs is set for a static site (this is the default):
// astro.config.mjs or astro.config.ts
import { defineConfig } from 'astro/config';

export default defineConfig({
  output: 'static', // this is usually default; add it if you changed it earlier
});
pnpm build
This will generate a dist/ folder with your production-ready static files.
To preview the built site locally, run:pnpm run preview
dist/ to any static host:GitHub Pages:
- Commit your code
- Use an action to build Astro and publish
dist/togh-pagesbranch.
Note: Whatever platform you use, the “publish directory” or “output directory” should be set to dist.
Vercel has built-in support for Astro and can automatically build & deploy from your Git repository. You can follow the deployment instructions in the Astro Vercel Deployment.Make sure your astro.config.mjs is set for a server site:
// astro.config.mjs or astro.config.ts
import { defineConfig } from 'astro/config';

export default defineConfig({
  output: 'server', // change to 'server' for Vercel deployment
});